Research
Kitbash Challenge : Week 1

For the "Kitbash Challenge" we were asked to create our own personalised robot with the modelling pieces provided. I was inspired to base my robot, which is shown above, on the "Wonderbot" from the animated movie 'Robots' (2005) which was a small, floating, helpful robot.


Wonderbot from Robots (2005)
Bibliography:
Wonderbot from Robots (2005)
Lip Syncing and Dice UV : Week 2

Lip Syncing
With animating lip syncing, you have you pay close attention to each syllable's mouth movement so that it flows well with the audio, if you mess up then it will seem either unnatural or like the audio is lagging behind depending on how you mess up with.
When working on the lip syncing, you need to think of the whole entire mouth as an instrument, each part of the mouth you are moving needs to help the other parts of the mouth; the chin, the lips, the teeth, the corner of the mouth and the tongue, if one section of the mouth is incorrect it is immediately noticeable and makes the rest of the mouth look odd and shows an unrealistic movement.
Dice UV

The "Dice UV" takes requires three main steps, building the model of a die, correcting the UV of the shape and creating a texture for the dice UV which can be very simple if you get the correct UV layout.
Bibliography:
https://www.freepik.com/vectors/lip-sync-mouth-animation - image
http://www.netexl.com/howtoplay/phase-10-dice/ - image
Facial Animation - Lip Syncing Part 2 & Toaster: Week 3

Facial Animation: Expressions
After you've animated the lip syncing, it is important in animation to exaggerate the facial expressions to truly bring out the emotions of the character you are animating to life, even though on human beings, the emotions does not have to be that exaggerated for you to know what emotions they are projecting, if you try and take the same approach with an animation, the animation would look very robotic, boring and not as lively as an animation with exaggerated facial expressions and movement.
While animating to the 'Predator' audio, I decided that I wanted to add a blink but did not know when to time it and did some research to then learn that 'humans blink approximately 12 times per minute'. From this research I ended up realising that I could add the blink to any point of my animation as long as I do not add too much of the blinking as it will become unrealistic.
Toaster

For the toaster modelling, I was deciding between a realistic approach to the modelling or a simplistic approach to the modelling but like the candle, I went with a more simplistic approach because as well as it being less time consuming, there are times where simple is better.
Modelling a Candle And Performance Preparation: Week 4

Modelling a Candle
For the modelling a candle task I chose to look at a range of different images of candles to try and see the similarities and differences that burning candles may have in appearance,
Here are some of the main similarities between candles that I noticed;
- whenever a candle starts to melt they would have a slight dent around the candle cord
- candles bend and have a slight curve to them when the candle wax is melting
There is a clear difference between a cartoon candle model and a realistic candle model, being a cartoon candle model has a more simplistic look and does not have as much detail compared to a realistic candle model.
Performance Preparation

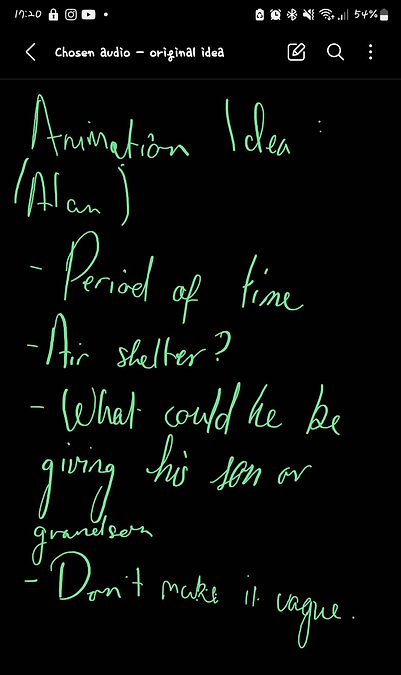
For my audio, I initially planned a completely different story which the base of my story would've been about an elder giving his grandson advice whether it was to go to war or in a time period where air raid shelters were most prominent during the war times.
The main plot of the story then changed to be an elder telling the younger one to stay away from the doors of the air raid shelter as they do not know what troubles may be waiting outside for them.

I also made notes to brainstorm on this idea more to see how I could experiment with the idea:

Bibliography:
https://en.wikipedia.org/wiki/Candlepower - candle picture
https://commons.wikimedia.org/wiki/File:The_London_Underground_As_Air_Raid_Shelter,_London,_England,_1940_D1675.jpg - air raid shelter picture
More Research For My Brief Audio: Week 5

Changes Made
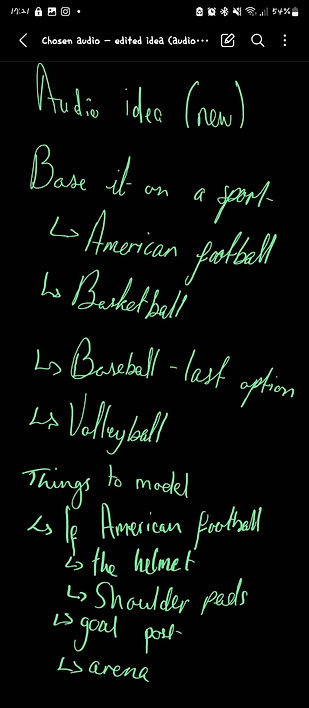
I have decided to change my idea for the brief audio as a particular part of the audio struck out to me and completely change my whole entire idea was "spike the ball", and from my knowledge, spiking the ball is usually a term used in a variety of sports such as American football/ rugby, volleyball and baseball.
I made some notes to brainstorm on the idea to try and develop it further:
So now the main plot of my story is a older coach talking/ advising an American football player.

Reference
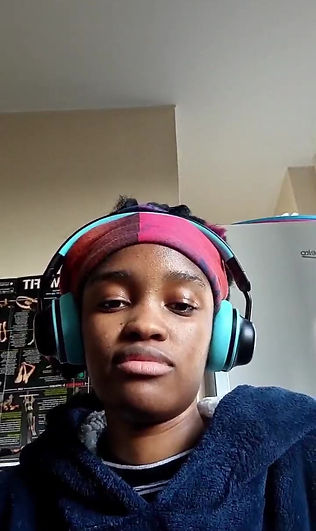
I have decided to make 2 separate references for this project, one for the facials to help me with the emotions and lip syncing and made a full body reference to help with the full body animation.
Here are the 2 references shown below:


For the full body recording, this is the angle of the camera that I chose because I wanted it to be from the P.O.V of the of the American football player, but this can also be changed to be at the angle from the shoulder of the football player.
While recording the footage, I had to redo some of the footage to try and capture the correct emotion and try to stay in character which ended up being successful after a few tries.
Props Needed
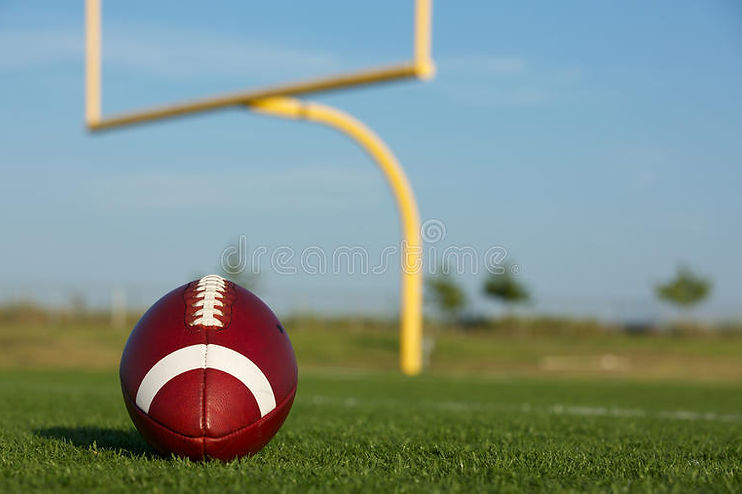
For my props, as I chose the sport American football, I have decided to model an American football/rugby ball and an American football goal post but was hesitant on the helmet because I was not sure if I'll fit into the scene.

Bibliography:
https://operations.nfl.com/learn-the-game/nfl-basics/terms-glossary/glossary-terms-list/goalposts/ - photo
https://www.youtube.com/watch?v=QyarPWX3BLo - for American football
https://en.wikipedia.org/wiki/Spike_(gridiron_football)
https://www.history.com/news/who-invented-football
Set Build Research: Week 6

Set Build
For the set, I had a vision of a particular the set which was going to be a stadium, I initially was wondering where to begin as I was looking at different stadiums that could work and while looking at different stadiums, I did not know where to begin as well as having very limited time to try and build a stadium so I ended up finding a free stadium which was pretty much what I wanted and I ended up going with a much simpler look for the surroundings than a much complicated stadium which could take a lot longer to model for only a small portion of the stadium to be shown.
The link to the stadium set is linked below in the bibliography.

Describe your image

Describe your image

Describe your image

Describe your image
Bibliography:
https://operations.nfl.com/learn-the-game/nfl-basics/terms-glossary/glossary-terms-list/goalposts/ - photo
https://www.youtube.com/watch?v=QyarPWX3BLo - for American football
https://apps.autodesk.com/en/Detail/Index?id=8115150172702393827&appLang=en&os=Win64&autostart=true
https://www.youtube.com/watch?v=JcuOZMIJFgA
https://www.turbosquid.com/3d-models/school-football-stadium-3d-model/339431# - link to set build (stadium)